
Follow these steps to activate or de-activate users.
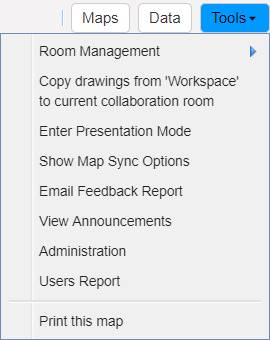
- Click on the Tools button.

- From the Tools menu, select Administration
This will open the User Administration screen. Active users appear in the list on the left of the screen and inactive users on the right.
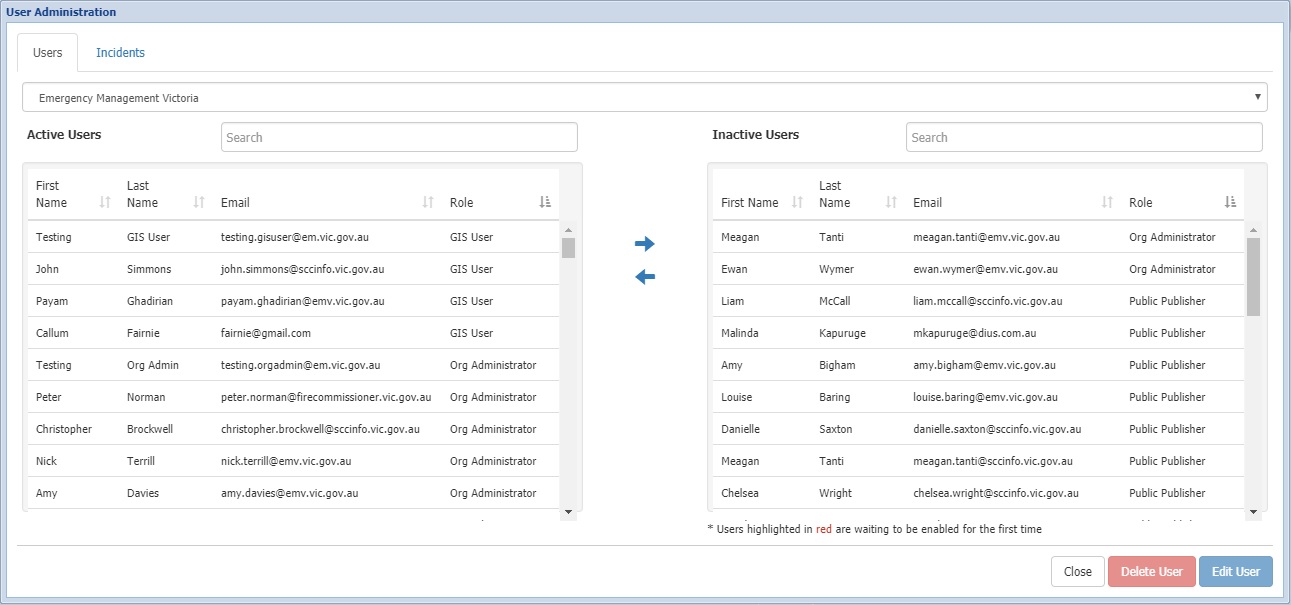
An entry appearing as Red in the Inactive list indicates that the user has just verified their registration and the account needs to be enabled for the first time. An entry appearing as Black, indicates that the user has been previously enabled.
- To activate a user, click on the user in the Inactive Users list and then click on the left pointing arrow. This will move them across into the Active Users list.

- To de-activate a user, click on the user in the Active Users list and then click on the right pointing arrow to move them across to the Inactive Users list.

TIP: You can click on the column headings to sort the displayed list in alphabetical order by First Name, Last Name or Email. Click the column heading again to reverse the order.
NOTE: Users moved to the Inactive Users list are no longer able to log in.
- Click the Close button to close the User Administration screen.
Comments
0 comments
Article is closed for comments.